Creating Genesis Framework Layouts
This tutorial walks you through creating a new, custom layout in the Genesis Framework. In this example, I’ll show you how to create a simple layout that adds two custom sidebars (one-half in column width) after the main content section.
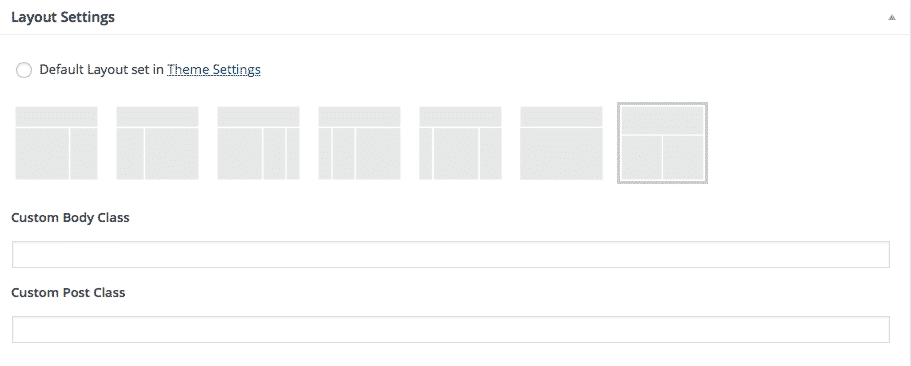
In the code below, the first snippet (create a new file called content-bottom-sidebars.php and add it to your child theme’s root directory) is the Genesis template that adds the two sidebars after the .entry container. The second snippet (add this to your functions.php) registers the sidebars and Genesis layout. It also includes the template if that layout is selected. In this example, the code in the template is small enough to include it in your functions.php but I wanted to show you how to keep it separate in case you need a full template and would prefer to use a new file. Also, if you’re looking to use this specific layout, you’ll probably want to use the image I created for the icon (see the far right layout icon in the image above). You can download this image here.
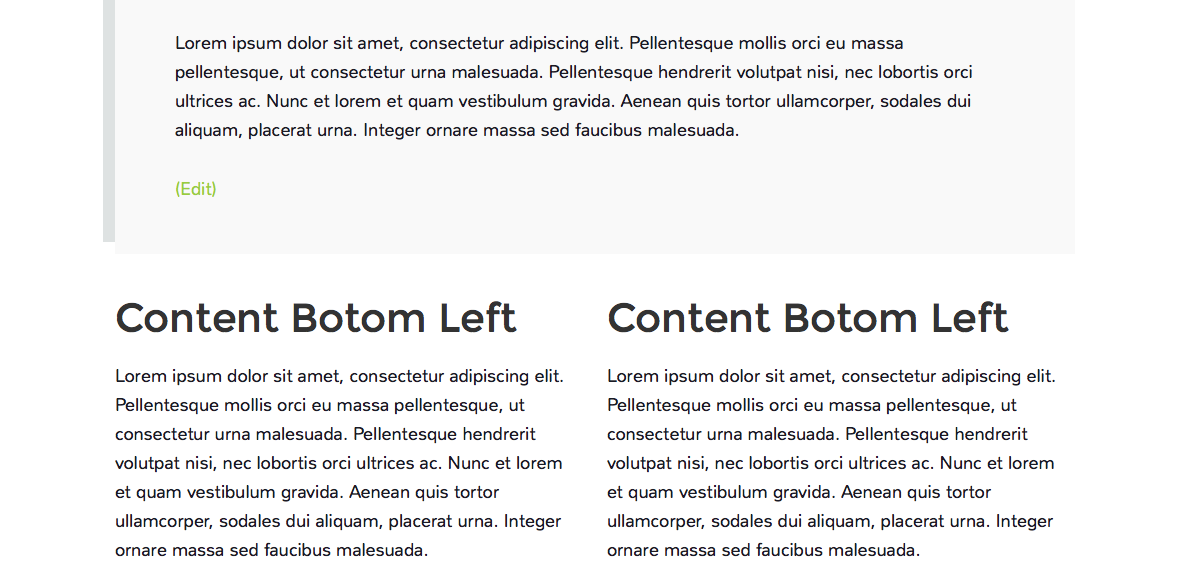
Lastly, you will probably want to add some CSS to modify the look of the sidebars. The final result will look something like this:
This is a very basic template example but the concept of creating custom Genesis layouts will be the same regardless. Leave a comment below if you have any questions.


I did it. Thank you.